Implementing menus and scenes
22 June 2021
- Follow along
- The project structure
- Dependencies
- Workflow
- Initializing the game
- Objects
- Some final notes
pygame doesn’t have a lot of the utilities included in other frameworks, so as I’ve gone through experimenting and prototyping I’m starting to build abstractions for myself. I’m doing this mostly to help me keep track of progress. As I learn a new technique, I can roll it up into some sort of generalized function, class, or method where I can re-use it later without needing to think through the entire implementation again.
This led me to creating a few basic structures for switching between “menus” or scenes. A concept of a Scene isn’t referenced in pygame documentation. It was just a concept that was easy to wrap my head around and that I saw used in Unity.
Follow along
I put up a sample program (in a simple script) as a gist so that you can see a working sample of what I’m talking about. Keep in mind that the code won’t perfectly line up since it’s been condensed into a single file.
The project structure
Let’s check out what I’ve got. My project structure looks roughly like:
.
├── assets/
    ├── images
    └── sound
├── supercargo/
    ├── engine/
        ├── __init__.py
        ├── game.py
        ├── globals.py
        └── scene.py
    ├── scenes/
        ├── __init__.py
        ├── gameplay_scene.py
        └── main_menu_scene.py
    └── __init__.py
├── venv/
├── Pipfile
├── Pipfile.lock
├── README.md
└── main.py
A handful of directories/files come from dependencies that I’m working with. See the dependencies below which use the venv, Pipfile, and Pipfile.lock files.
Outside of that, it’s a pretty simple setup:
assetsholds static assets like images (.png) or sound files (.wav). Down the road this may also store any static data, if I needjsonstructures for example.supercargois the main project code. I don’t have a project name yet, so picked something unique to prevent module conflicts.main.pyis the main startup script. I run the game by running this file.README.mdis notes and documentation for the project.
Dependencies
I’m starting the project using python 3.8 and pygame 2.*. I’m using pipenv. I also run everything in a virtual environment which is why you see the venv directory.
Workflow
There is a lot of back and forth with the CLI since pygame has no GUI editor.
I don’t mind this, especially while learning, coming from the web dev world. I already spend the majority of my time bouncing back and forth between editor, shell, and browser.
With this project, I’m essentially just bouncing back and forth between editor, shell, and game window, using $ python main.py to run a game.
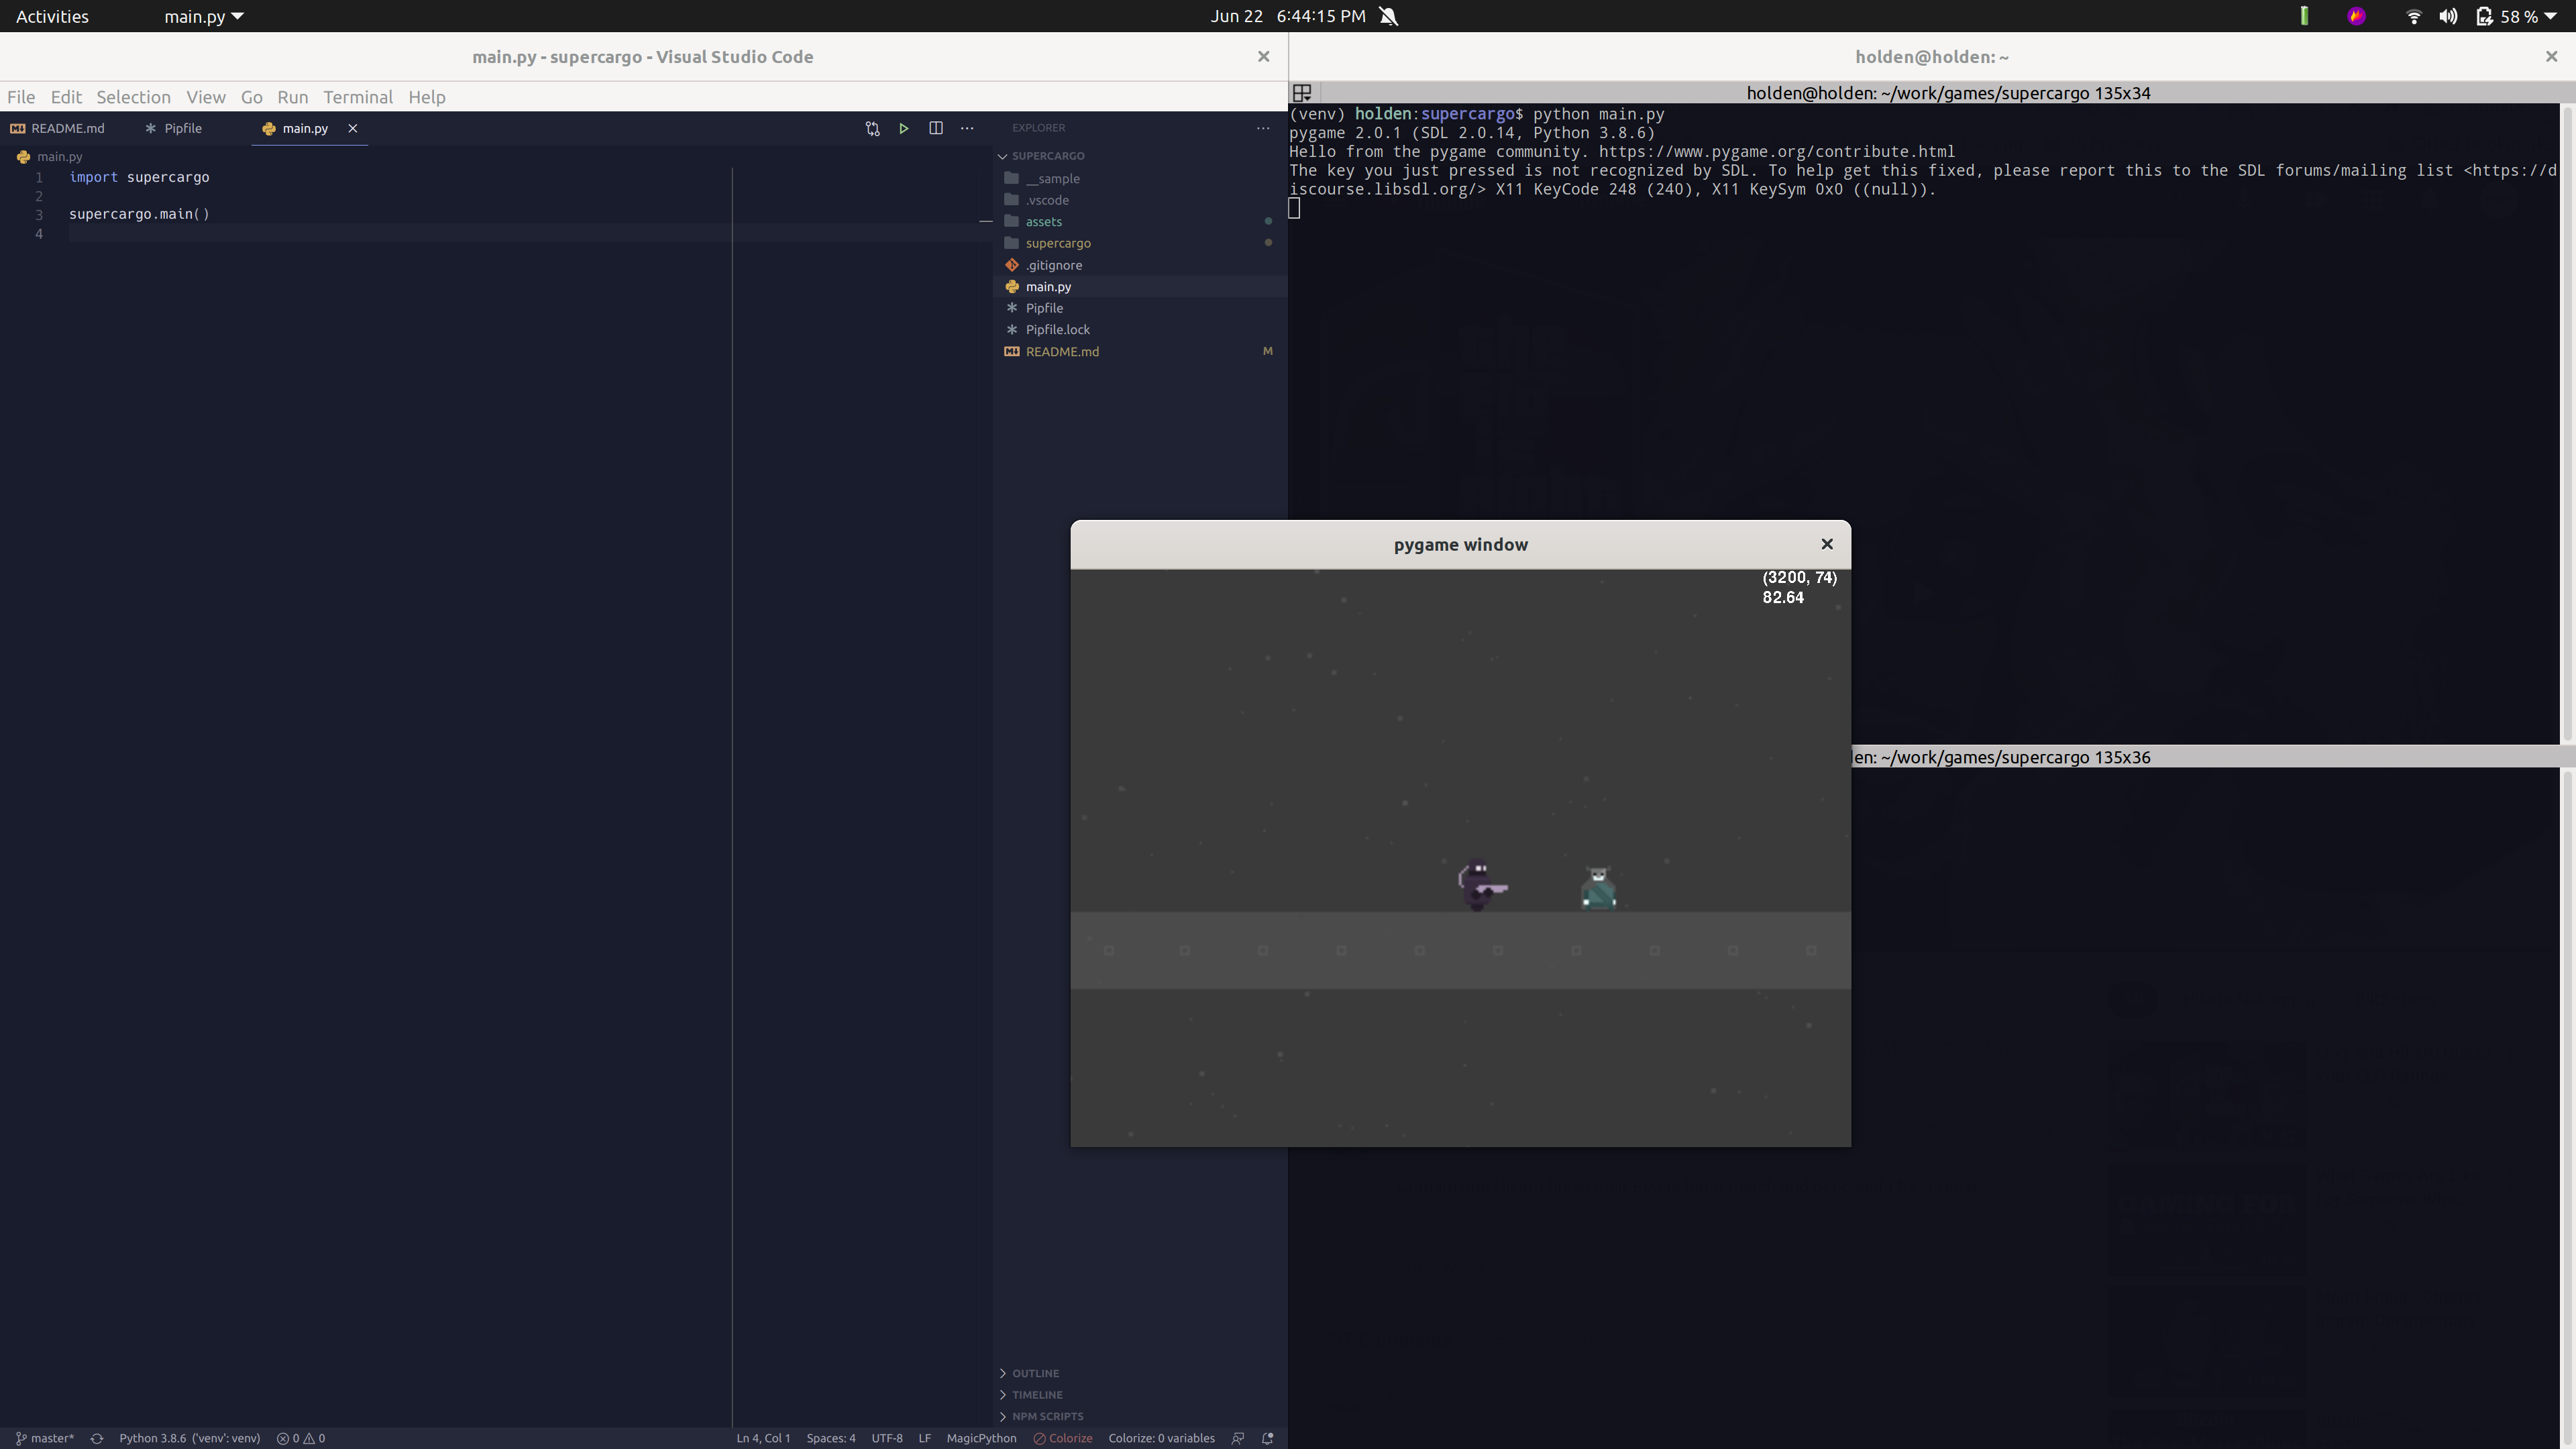
An example of another protoype I’ve worked on.
Initializing the game
Here’s what the initialalization of the application looks like:
# /main.py - entry point to the game

import supercargo

supercargo.main()
# /supermain/__init__.py

import pygame
from supercargo import engine, scenes
from supercargo.engine.globals import current_game

def main():
    pygame.init()
    pygame.display.init()
    pygame.mixer.init()

    global current_game
    current_game = engine.Game()
    current_game.next_scene = scenes.MainMenuScene()

    while current_game.next_scene:
        next_scene = current_game.next_scene
        current_game.next_scene = None
        next_scene.run()

    pygame.quit()
    raise SystemExit
So what exactly is going on here?
-
Initializing
pygame. The library itself needs to be initalized viainitfunctions. This is where thepygame.init,pygame.display.init, andpygame.mixer.initfunctions are coming from. -
Setting up a global
current_gamevariable. This is mimicking the pattern that Flask uses for itscurrent_appglobal variable. This prevents complicating code by passing around a game object, or session object, or state object. The creator of Flask explains why he chose this pattern here.
The globals import is a very simple file:
from supercargo import engine
from supercargo.engine.globals import current_game

def main():
    ...

    global current_game
    current_game = engine.Game()

    ...
# /supercargo/engine/globals.py

current_game = None
Using the pattern this way means that it’s simple to access anything from the game object, where we will store all sorts of useful information, via importing with from supercargo import current_game.
- Defining a “scene loop”. This is where things got slightly more complicated than I would have liked. Here we have a loop that is checking for a
Sceneobject to run. When there are no more scene objects, the game ends. As I mentioned above, a scene may be a menu or it may be gameplay. In our code here, we are jumping right into theMainMenuScene. A main menu would typically have buttons to start a new game, restore a save, open options, etc. For now, I’ll keep it simple for the sake of prototyping.
from supercargo import scenes


def main():
    ...

    current_game.next_scene = scenes.MainMenuScene()

    ...
Objects
Alright, that’s the gist of how the application is initializing and booting, but I still need to fill in some gaps.
The Game object
pygame leaves it up to you to keep track of all of the moving pieces of your game. I needed to create an object where I could centralize parts of the application that are important or consistently accessed by across the entire application. A game configuration would be a good candidate for this.
# /supercargo/engine/game.py

import pygame


class Game:
    def __init__(self):
        self.clock = pygame.time.Clock()
        self.next_scene = None
        self.screen = pygame.display.set_mode((300, 200))
To start, the Game class is straight forward. It has a clock which will be used once we implement our game loops, the next_scene property to store which scene to run next, and a screen object.
Display’s and screen rendering is a decently complicated topic that I’m still working through too, so I’ll have to get into that more later. For now you just need to know that pygame.display.set_mode creates a new Surface object. We can manipulate that Surface by writing text or images to it for example.
The Scene objects
And now the Scene. You saw in the main function that we are calling run() on the scene objects to enable them or to effectively switch between scenes. That’s going to be our main entry point, but there are a couple other interface methods as well:
# /supercargo/engine/scene.py

import abc


class Scene(abc.ABC):
    running = True

    @abc.abstractmethod
    def play(self):
        ...

    def run(self):
        from supercargo import current_game

        self.running = True

        while self.running:
            for event in pygame.event.get():
                if event.type == pygame.QUIT:
                    self.quit()

            try:
                self.play()
            except Exception as e:
                traceback.print_exc(e)
                self.quit()

            current_game.clock.tick(60)  # frames per second

            pygame.display.flip()  # render the display

    def quit(self):
        self.running = False
The base scene object provides a hook called play which each scene will implement. play is the meat of the functionality in the scene. It’s run once per frame, which you can see in the run method. The run implements a game loop, looks for a quit event (user closes the game window), runs the scenes’s play logic, ticks the game clock forward, and updates the display.
Let’s look at two concrete implementations of scenes:
# /supercargo/scenes/main_menu_scene.py

import pygame
import supercargo
from supercargo import engine


class MainMenuScene(Scene):
    def __init__(self):
        self.frames = 0

    def play(self):
        """
        Count down from 5 to 0, and once the timer hits 0 we start the game.
        """
        from supercargo import current_game

        self.frames += 1
        countdown = max(5 - round(self.frames / 60), 0)

        if countdown > 0:
            current_game.screen.blit(
                pygame.font.SysFont(None, 80).render(
                    f"Game starting in {countdown}", False, (255, 255, 255)
                ),
                (5, 5),
            )
        else:
            self.quit()
            current_game.next_scene = supercargo.scenes.GameplayScene()
# /supercargo/scenes/gameplay_scene.py

import pygame
from supercargo import engine


class GameplayScene(Scene):
    def play(self):
        from supercargo import current_game

        current_game.screen.blit(
            pygame.font.SysFont(None, 60).render(
                "Welcome to the game.", False, (255, 255, 255)
            ),
            (5, 5),
        )
These are about as simple as you can get when it comes to a menu and a main game scene. The idea here was to avoid adding extra complexity like keyboard input and events, so the Main Menu starts a count down timer and when that timer hits 0 it starts the game scene. It proves the point for a sake of a prototype to show how you can switch scenes.
The game now looks like:
You can imagine how the MainMenuScene could eventually add multiple buttons rendered to the screen where a function is called when those buttons are clicked. There could be a button for Play, a button for Quit, and a button for Options for example. Then the GameplayScene could render a character to the screen, hook into keyboard inputs to move that character around, and lots more from there.
Some final notes
Here’s some final notes on specific functionality happening in this little prototype or general thoughts going forward.
blit
All of the rendering is very explicit. You can see in the sample scenes that to put text on the screen you need to define the exact x, y coordinates along with any meta data like color:
text = "print this"
text_color = (255, 255, 255)  # rgb
coordinates = (5, 5)

current_game.screen.blit(
    pygame.font.SysFont(None, 80).render(text, False, text_color),
    coordinates,
)
screen size
I’m setting a random, default screen size of 600/400 so the window starts fairly small. I know that there are some techniques that can be applied for better window rendering. For example, defining two internal screen objects. One with the proper resolution of the game and then another that represents the actual size of the window. Then as the window is resized, the inner screen can be scaled up to the container screen.
nesting scenes
With the method shown, it’s possible to kill the current scene and switch. I wanted to prevent extra data hanging around in memory. Avoiding complex, nested, semi-infinite while loops seems obvious.
But at the same time, it is also possible to do that on a small scale. I think there’s a use case for something like a Pause scene. This means that when the main gameplay “switches” to a pause scene then it’s going to stop the gameplay. That’s ideal for a pause screen.
…
That’s it for now. I plan to keep working through techniques and ideas to build a more complete prototype. I’m thinking about moving on to movement systems and then simple combat systems.
Catch you later.